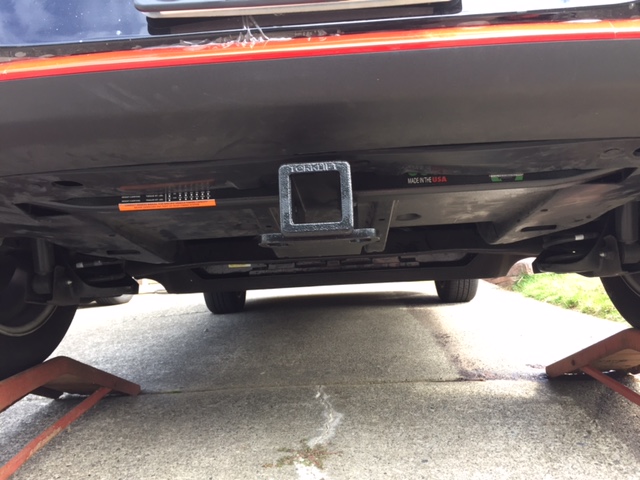
This past weekend I added a hitch to my Soul EV. All in all, it was very easy and did not take any time at all (1-2hrs)
I ordered part# X7326 from TorkLift Central in Kent, WA.
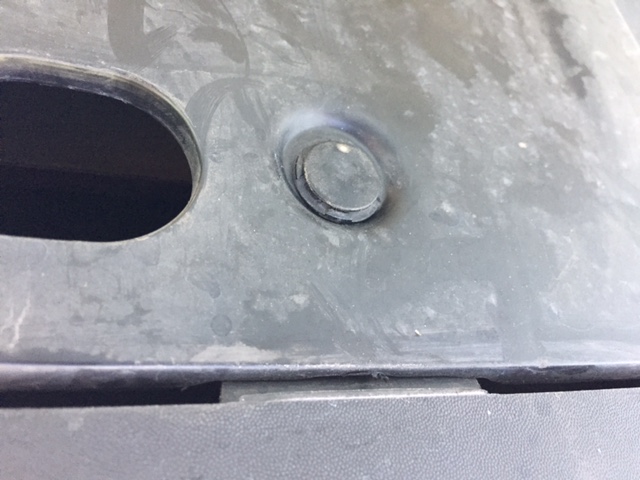
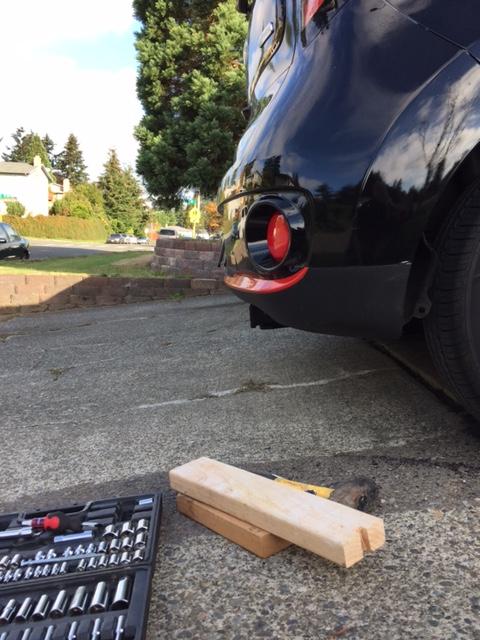
The first step was to remove the belly pan. The bumper edge is help on with expanding pins which are used all over the car. You pull the center out and it allows the legs top compress and pull the pin out. I will probably just call these “clips” from now on. They look like this…
(remove with small flat head screwdriver)
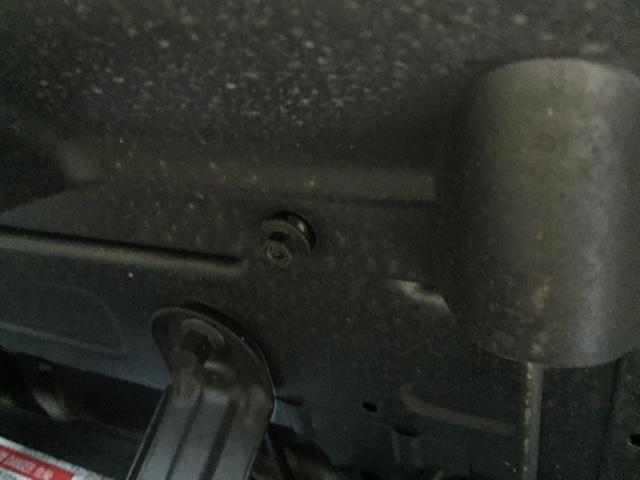
The far edge is held on using six 10mm nuts…
Then there are 2 clips in the middle of the pan, which I removed last so they would support the pan while I unfastened the perimeter.
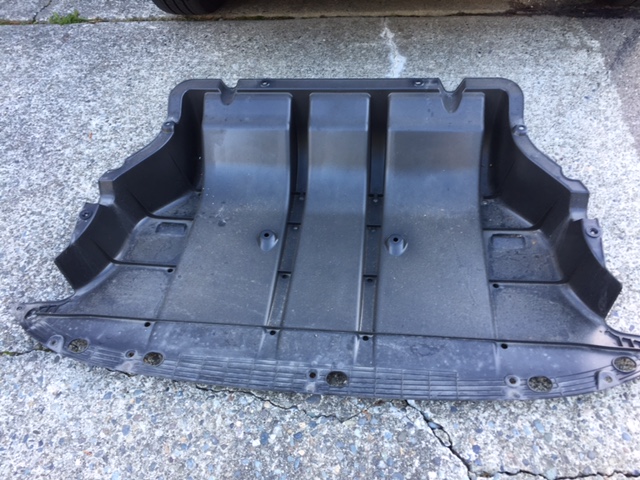
Here is the removed pan… (the bottom edge of the pic is the bumper edge, and the edge that will need to be cut later)
Next is adding the hitch…
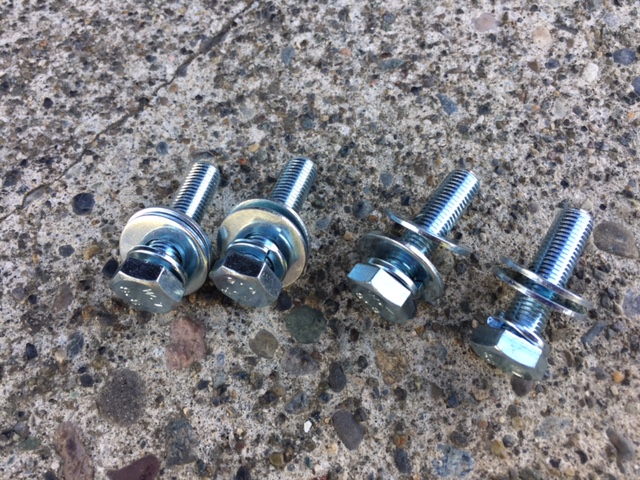
It is help in place with 4 bolts (supplied), each with a locking washer and 2 fender washers…
(17mm ratchet)
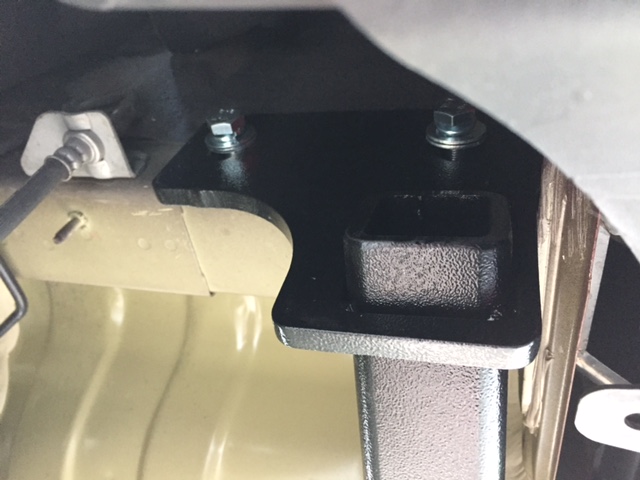
Attached…
After verifying it was level, I removed each bolt one at a time, and added Blue Loctite Threadlocker.
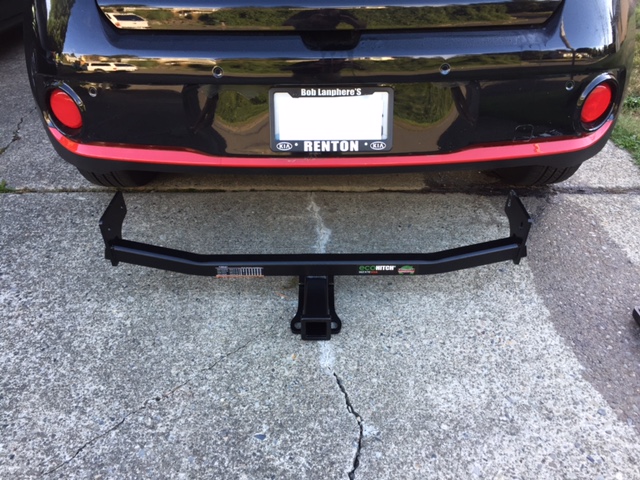
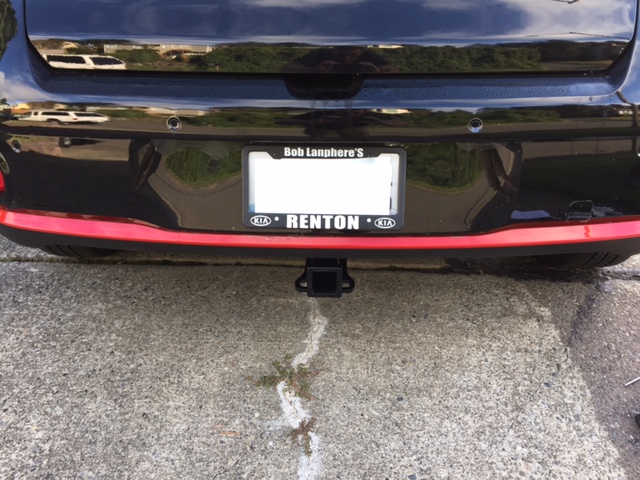
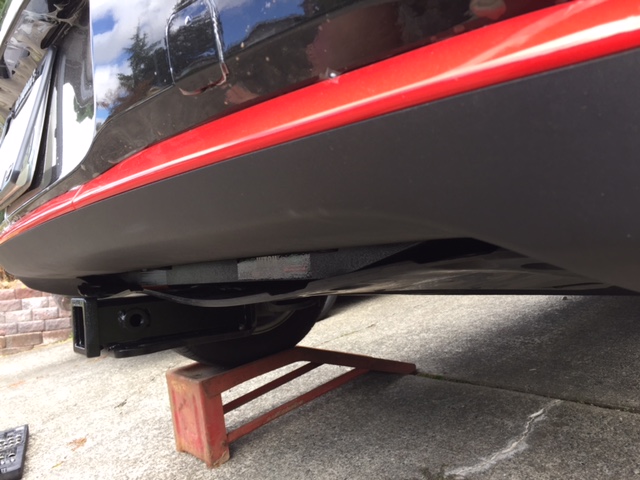
And the hitch is in place…
The next part was to cut the pan so I could put it back in place. I read some people saying this was unnecessary, but it looked like there were a lot of cubby holes, etc for air to get scooped up in, so I wanted to replace it so the underside was smooth again.
For people trying this, read everything before you cut your pan, I had to try several size holes before I found what I needed.
At first, I tried to cut the actual hole I needed for the hitch to fit when it was in place. The front of the hitch is larger because of loops to hook chains, but I had hoped I could turn it diagonal and get past the initial size. I wanted my hole to be as small as possible. I started with a hacksaw, thinking I would take my time and get nice straight lines, but by the end I had taken out the jig saw.
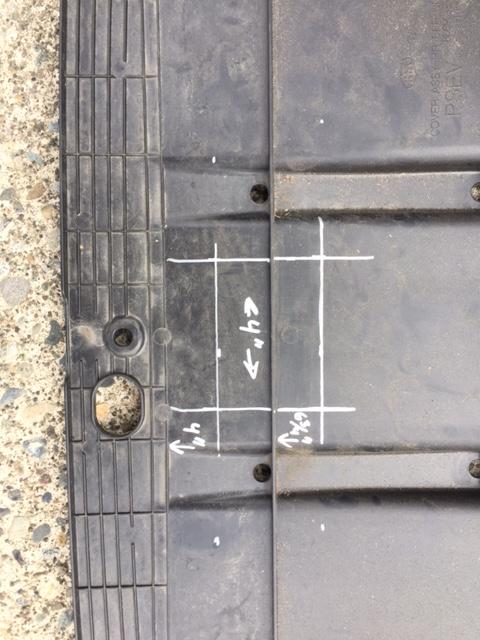
At first, I measured and cut this…
4” wide, and 2 lines, one 4” from the front edge, one 6.75” from the front edge.
(note: I think the 6.75” is too far back and I should have used 6.5” in the end)
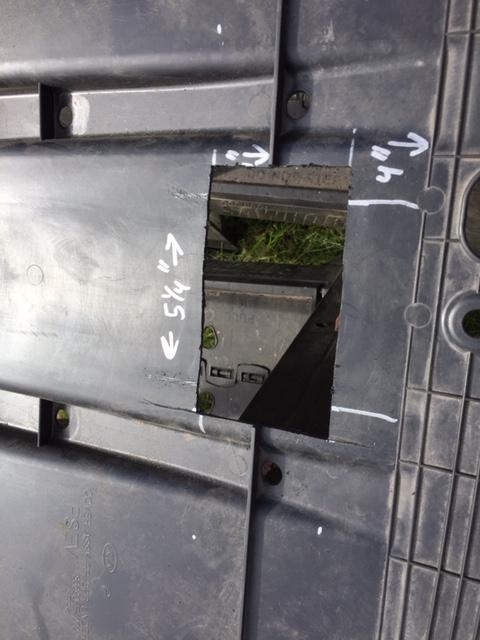
That would not get over the hitch at all. So I made it larger.
This one was 5.25” wide, but the same depth, front to back.
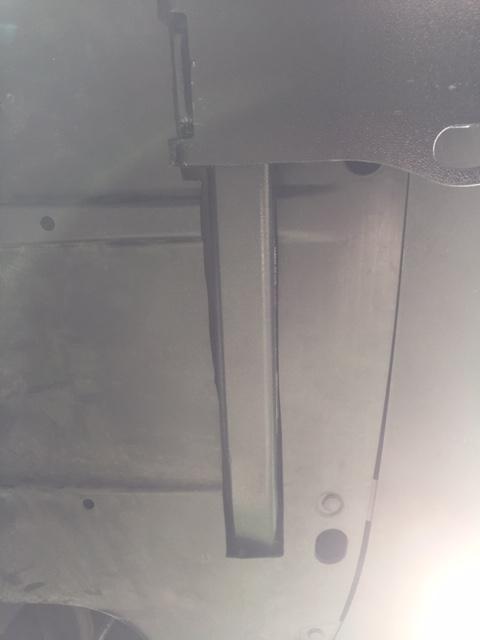
That fit over the hitch, but when I tried to put it in place I realized the cross bar actually stuck down in my way…
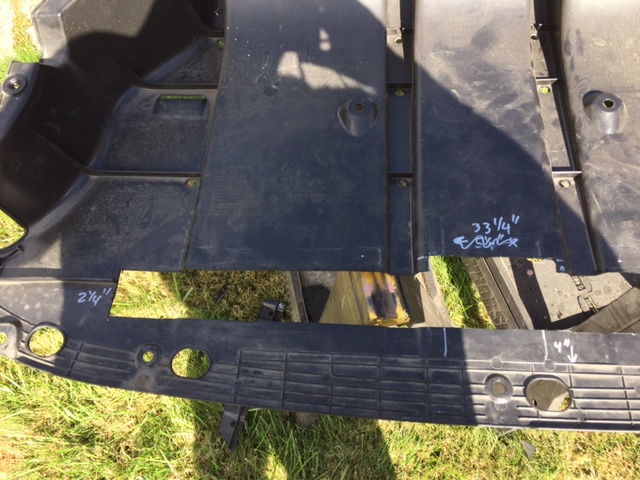
So, I took it off and cut a hole that was 33.25” from end to end, it was 2.25” wide, and started 4” from the front edge. I think that is the perfect cut.
You might need to cut it a little wider in the middle where the hitch actually is.
Job complete...
I was very happy with the installation. I did have to cut out a plastic vertical wall on the pan that helped support the pan and keep it ridged. The bumper edge of the pan should be well supported with the clips along the perimeter of the pan. I think the clips in the center of the pan will keep the edge next to the hitch from sagging.

